Crisp Guide to User Authentication in Anvil using Python


Introduction to Anvil
Anvil is a unique web app framework that allows you to create and deploy web apps all in Python. So, even if you don't know HTML, CSS or Javascript, you can still create awesome web apps.
One can create a user interface in Anvil using the intuitive drag-and-drop components. Once the UI is in place, the different components can then be connected in a workflow using Python programming. Everything is done in Anvil environment, in the browser. No need to run Python locally.
Objective
The objective of this tutorial is to show you how to implement user authentication in an Anvil app. The app will allow the user to register, login and logout using email-password authentication.
Build a Simple Web App using Anvil
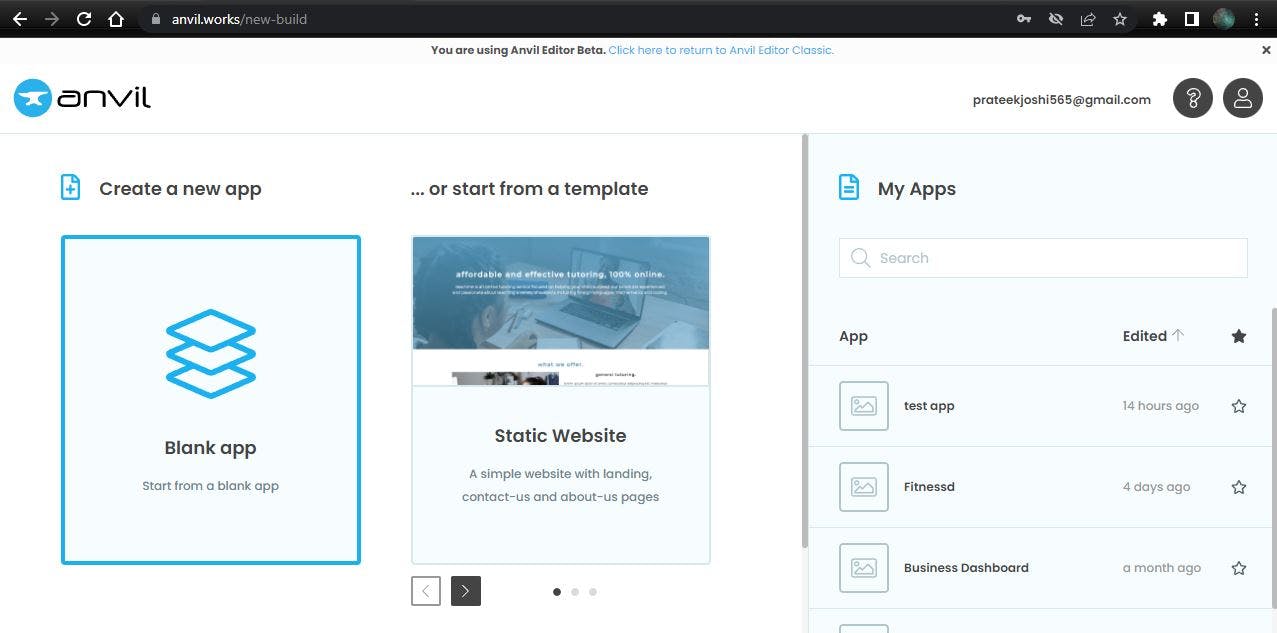
1. Select app template
We will use the blank app template for our app.
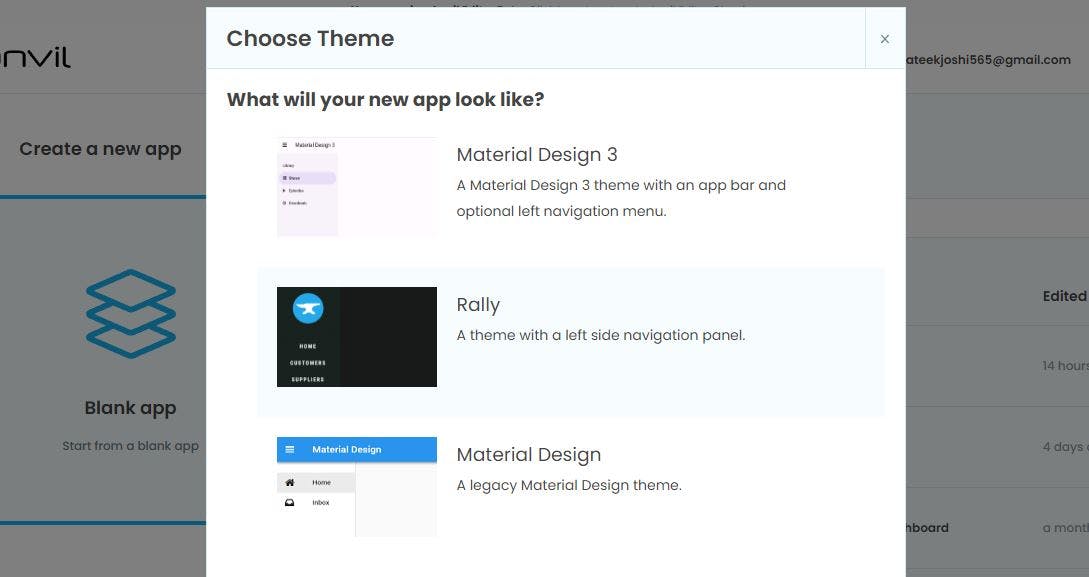
2. Select theme
Select 'Material Design 1' theme.
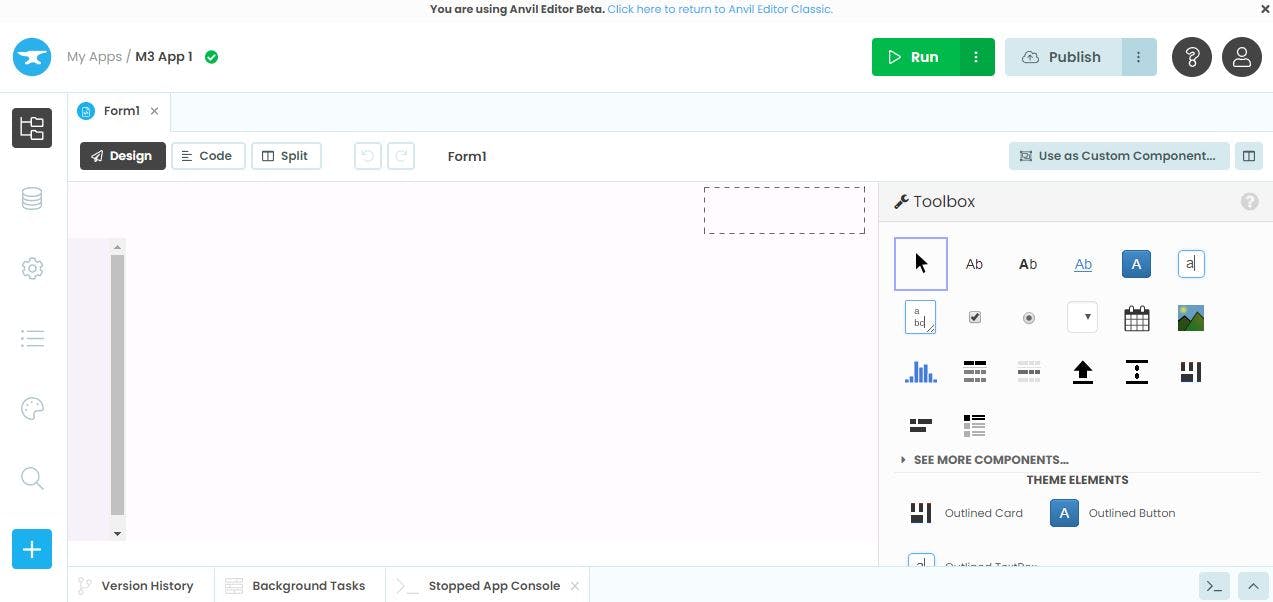
3. Initial App Layout
This is how your canvas is going to look initially. In Anvil, a form is nothing but a page. You can have multiple pages as well in your app. The sidepanel on the right side contains several drag-and-drop components such as display text, button, calender, column panel, repeating panel, etc.
4. Add buttons to the app
Now we will add three buttons using the button component from the Toolbox side panel.
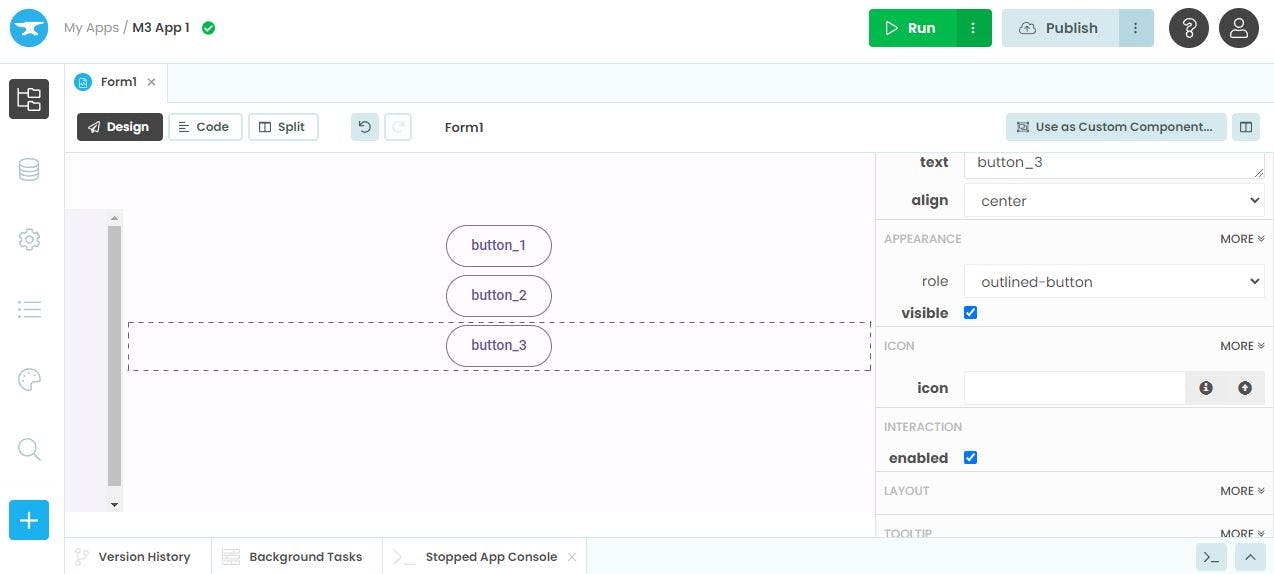
5. Rename buttons
Whenever we add a component to the form, Anvil creates a Python object for that component automatically. It is advisable to rename these Python objects intuitively to
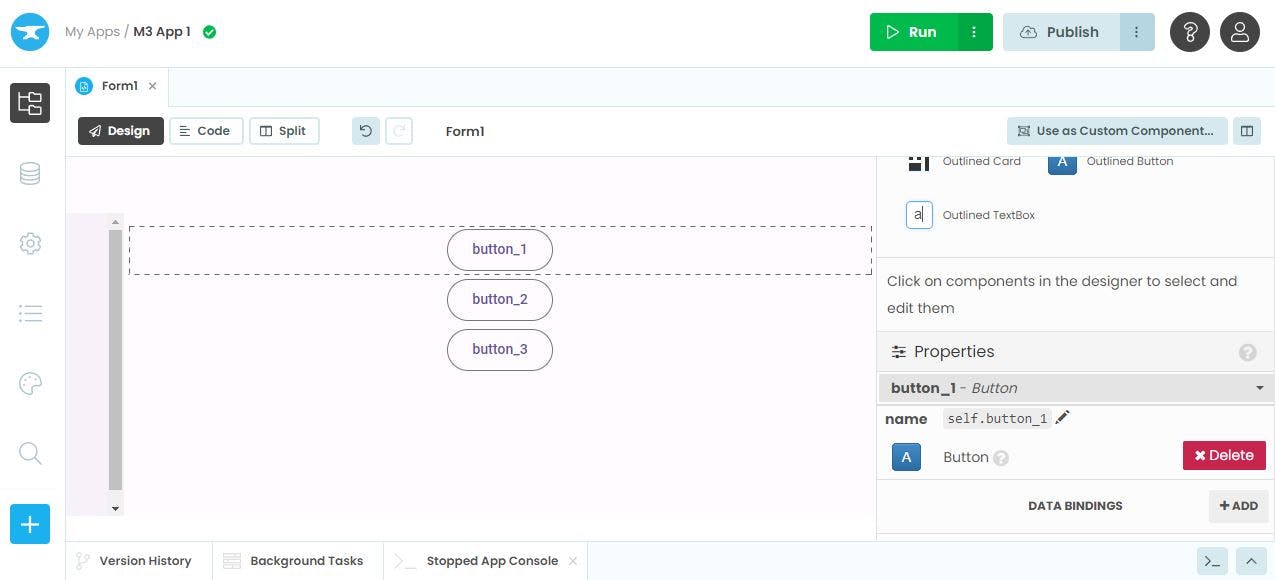
Click on button_1, in the right sidepanel scroll down to the 'Properties' section. Click on self.button_1 and rename it to 'register'. Then scroll further down to the 'TEXT' sub-section and enter 'Register' in the text-field. This text will be displayed on the top most button instead of 'button_1'.
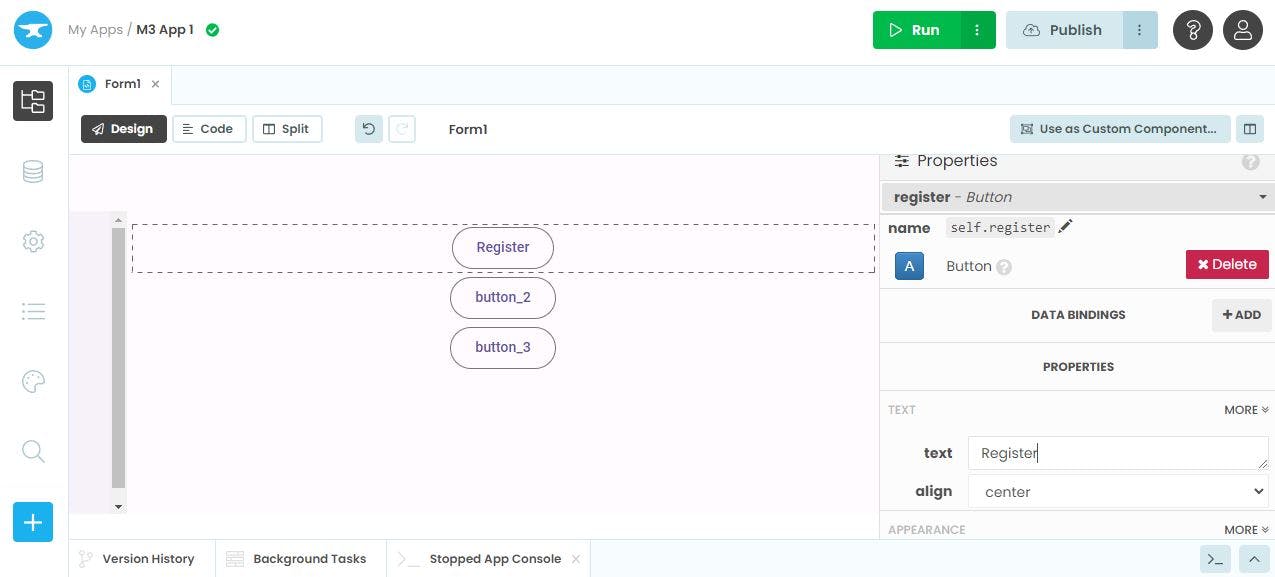
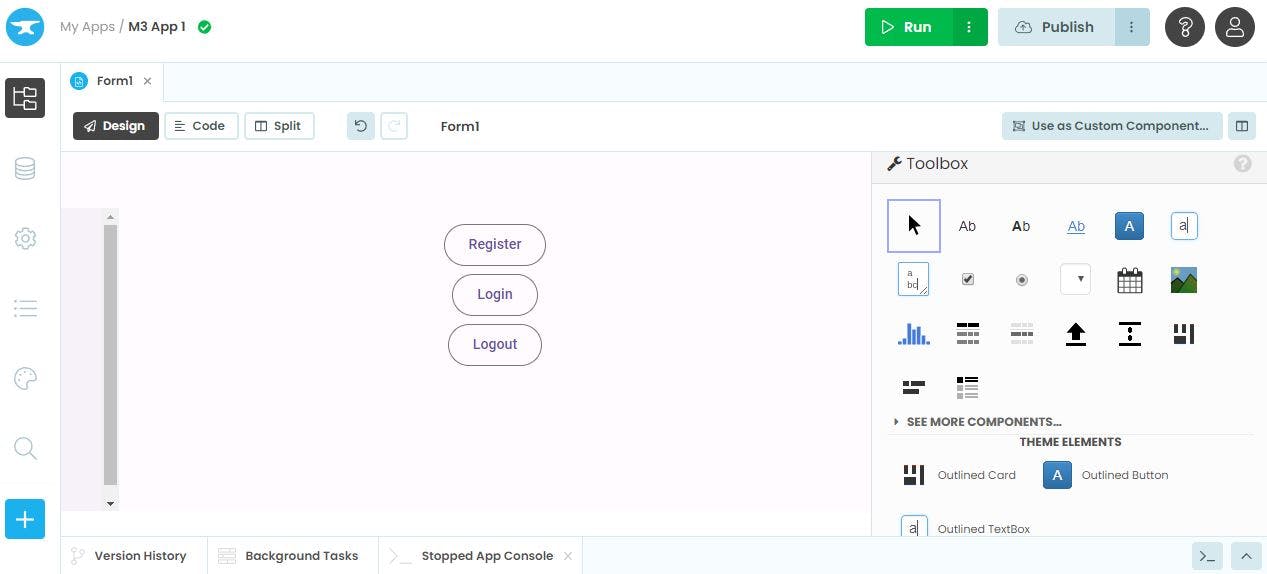
We will rename the remaining two buttons as well. Rename Python variable of button_2 to 'login' and change its text to 'Login'. Rename Python variable of button_3 to 'logout' and change its text to 'Logout'.
6. Specify method for user authentication
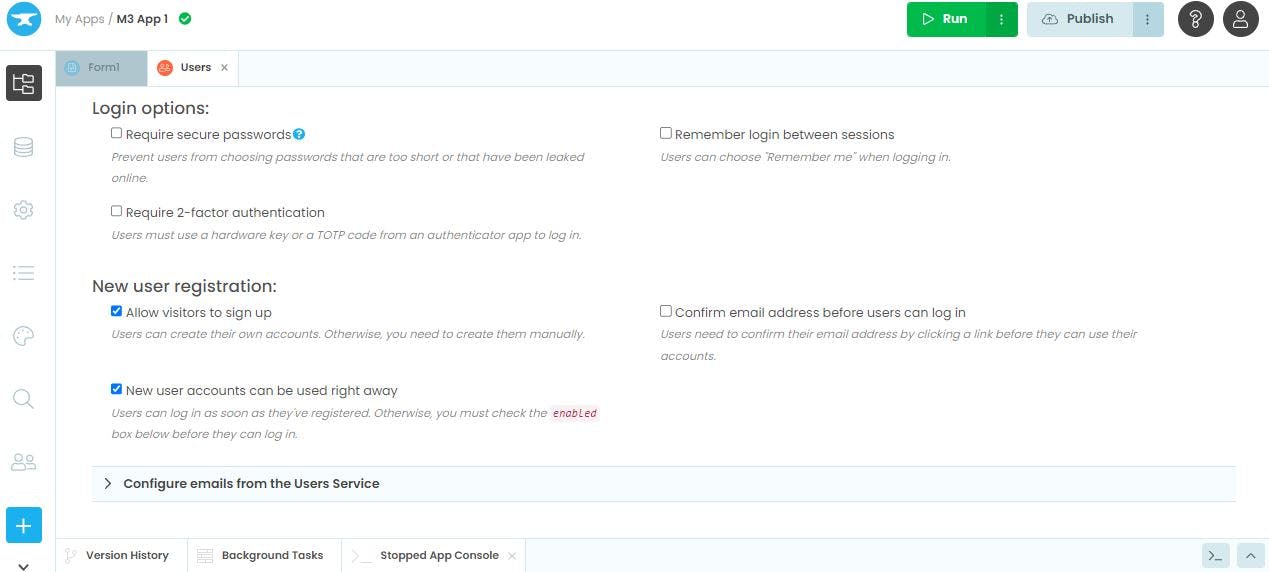
There is a "+" icon at the bottom of the left sidepanel. Click on it and select 'Users' service. Select Email + Password as the preferred sign-in method. You may select multiple sign-in methods if you want however we will go ahead with the single method for this app.
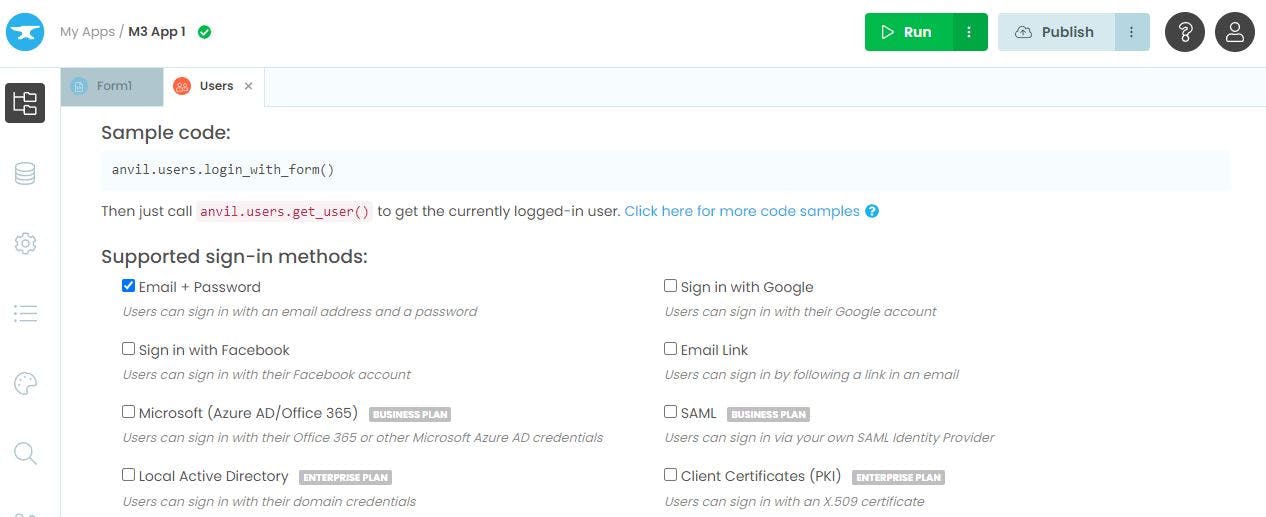
You can further scroll down below and enable the settings under 'New user registration' section as shown below.
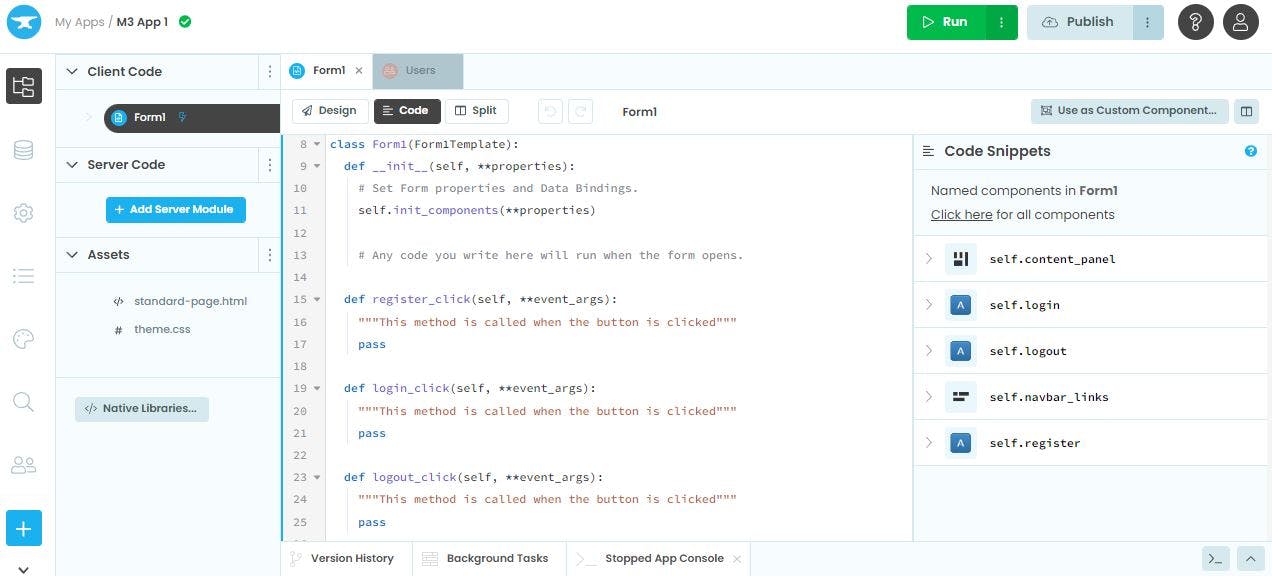
7. Add functions for buttons
Now it is time to tinker a bit with the Python code. Double click on the 'Register' button, it will open a new pane with Python code and it will create a function with the name register_click(). We will add some code to this function but first double click on the remaining two buttons, 'Login' and 'Logout' to create functions login_click() and logout_click, respectively.
8. Add logic for user's state
Once the user has registered on an app and is logged in, then only the 'Logout' button should appear. Also if the user clicks on 'Logout' button or has not signed in then only the 'Register' and 'Login' buttons should be visible.
To implement this logic we will create a function user_state().
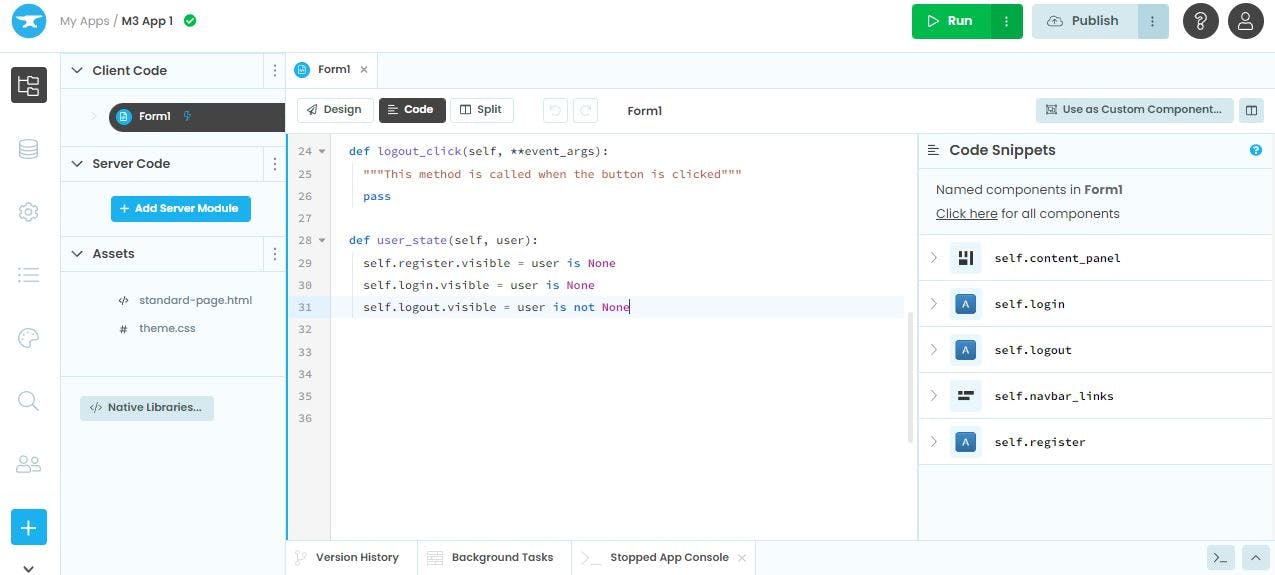
It accepts one input, i.e., current user's state. If the user is logged in then the user's state is not None otherwise it is None. Using this property of current user's state, we can control what to show and when.
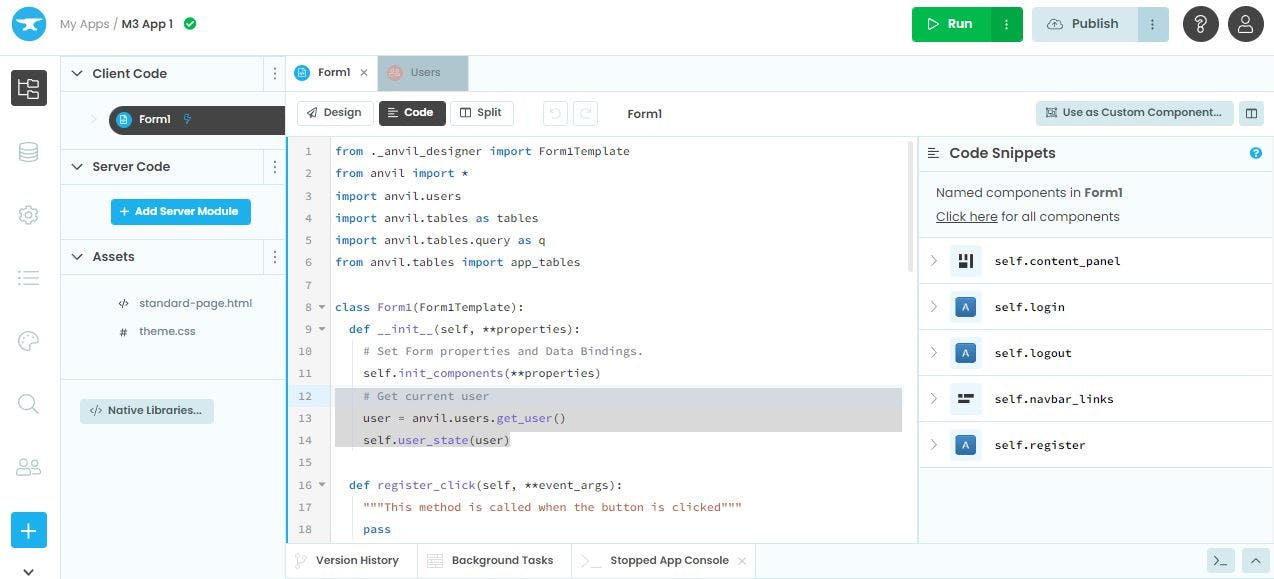
9. Initialize current user's state
While starting the app it is needed to set the current user's state, it can easily be fetched using this line of code anvil.users.get_user(). Then we can pass this user's state to the user_state() function to modify the appearance of the app.
Now we will update the remaining functions as well.
10. Update user authentication functions
Under register_click() function, we can use signup_with_form() function to register the user. While executing the app a popup form will appear as and when the 'Register' button is clicked. Then we will send the user's state to user_state() function.
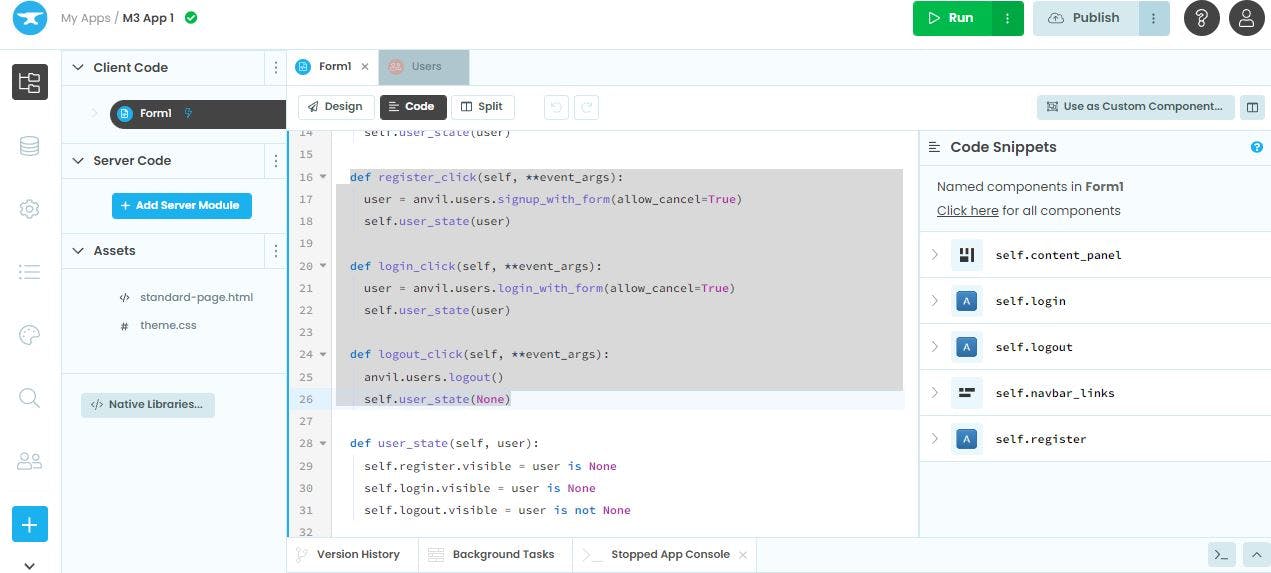
Similarly to log in any user, we can use the login_with_form() function. Finally, to log out of the app, we will use the logout() function of the anvil library.
Working of App
To execute your app, click on the green coloured button (Run) at the top-right side of the screen

End Notes
In this article, I covered the implementation of user authentication in Anvil that can be replicated in any app. Feel free to reach out to me if you want to share your thoughts or have any questions. Thanks for reading!
Anvil's website - anvil.works
Anvil's documentation - anvil.works/docs/overview