Build Backend of a Web App using Anvil and Python


In the article Create Front-End of a YouTube Web App using Anvil, we learned to build the user interface (UI) of a simple web app in Anvil. Below is the screenshot of the final UI of our app.
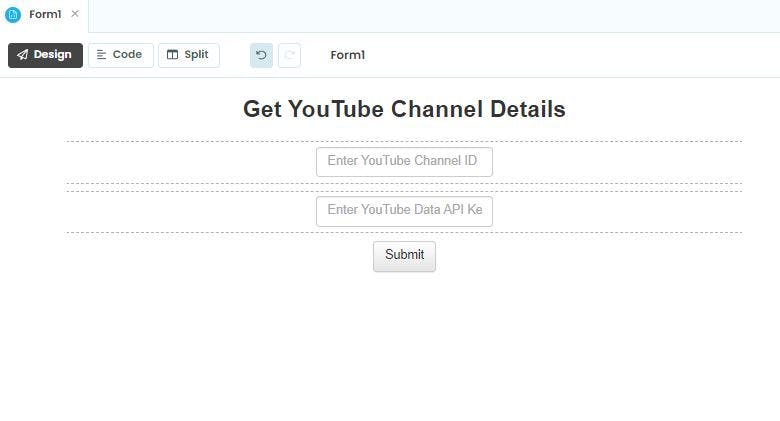
Now in this tutorial, we will write the client-side and server-side code for our app so that it can take inputs from the user, i.e., a YouTube channel ID and a YouTube Data API key, then use the inputs to fetch the channel's information with the help of the YouTube Data API.
Modify Frontend of the App
The objective of this web app is to take some input from the user and show some output to the user on the frontend. The user inputs will be sent to the Anvil server where we will create a Python function that will process the inputs and generate some output. The output will be sent back to the frontend for the user to consume.
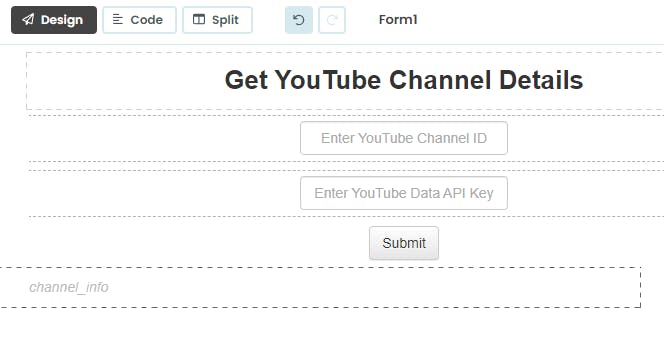
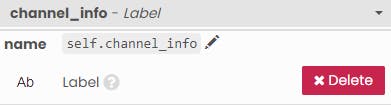
So, we will add a Label element just below the submit button and change its variable name to 'channel_info' for convenience.
Server-side code in Anvil
Anvil allows its users to write both client-side (front-end) code as well as server-side (backend) code.
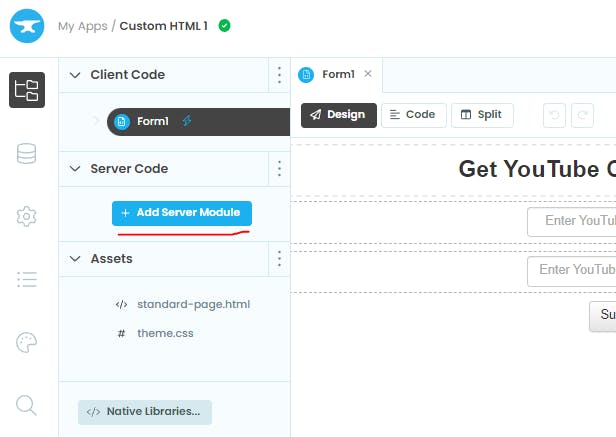
To access the server code editor, click on the 'App' icon in the left-sidebar and under 'Server Code' section click on the 'Add Server Module' button to open the server code editor.
The server code editor looks like this:
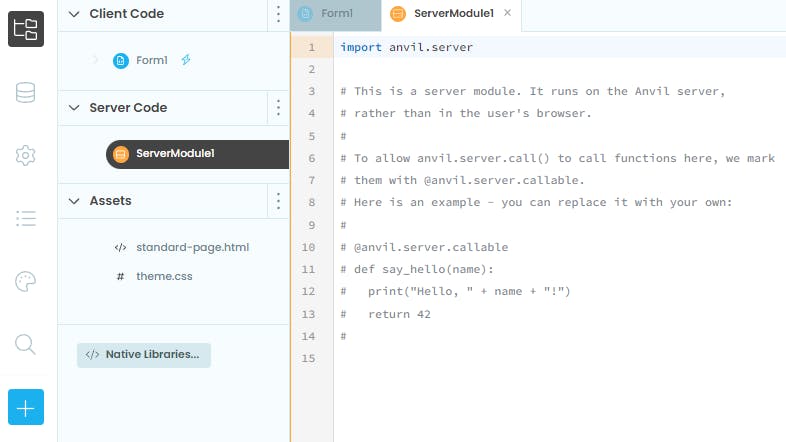
Here you can add the Python functions that can receive and send data to the frontend. If you are a paid Anvil user then you will also have access to a large number of Python libraries.
Let's add a function that will take a YouTube channel ID and a YouTube Data API key as input that will be sent from the frontend of the Anvil app.
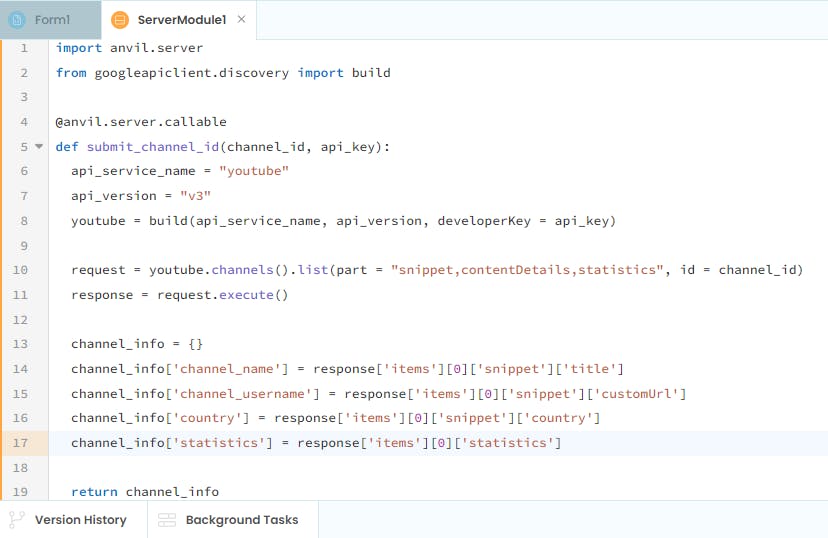
The function will then return channel-specific information like the name of the channel, the channel's username, country of origin, and the channel's statistics as output that will be sent back to the frontend UI.
Client-side code in Anvil
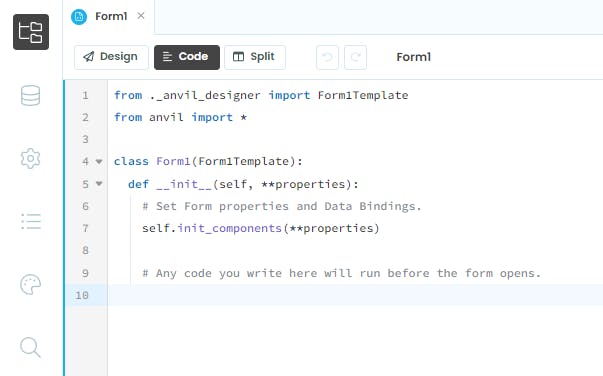
Now we will modify the frontend code. To access the code editor in Anvil, select Form1 and click on the Code button at the top-left corner.

There is some code already present in the code editor which is the bare minimum code required to run your app. However, to add more functionalities and logic to the app's front end, we can modify this code.
Define click-event for Submit button
Once the users enter the input details, they would click on the submit button. So, this click should trigger some event. We will define this event in the code in the form of a Python function.
Before that simply go back to the Design tab, double click on the Submit button. It will create a Python function (submit_button_click) under the class Form1 in the code editor.
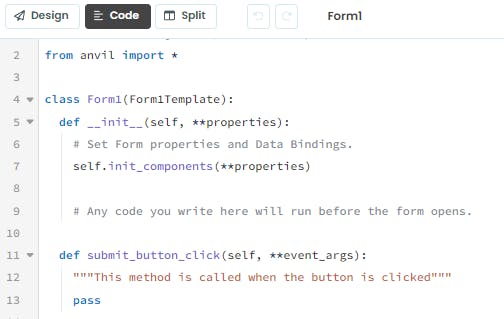
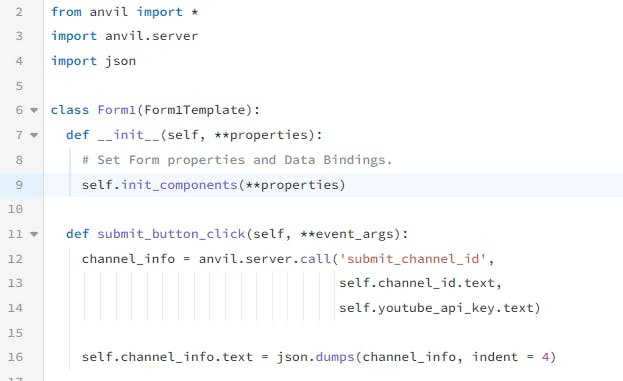
We will try to access the function submit_channel_id() that we created in the server code. For that, we will import anvil.server module and call the server function from inside the submit_button_click() function.

In the code above, we are using anvil.server.call() function to send the inputs to the server-side function and also fetch the output from the same function.
Then we will add one more line of code in the submit_button_click() function to display the output on the frontend, inside the channel_info element. We will also import the json library as shown in the screenshot below.
Change App Settings
Before running the app, let's modify some settings. Click on the Settings icon in the left-sidebar and under General section change the app name to 'My YouTube Name' or any other name of your choice.

Then go to the Python Versions section and select 'Basic Python 3' option.

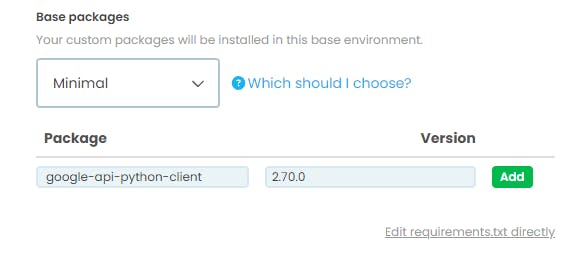
Now we will install a package to use the YouTube API. Click on the blue-colored Install custom packages button and specify the package name as "google-api-python-client" and the version as "2.70.0".
Run your Anvil App
Finally, we can run our Python web app. Click on the Run button at the top-right corner. Enter the inputs in the UI and click on Submit.
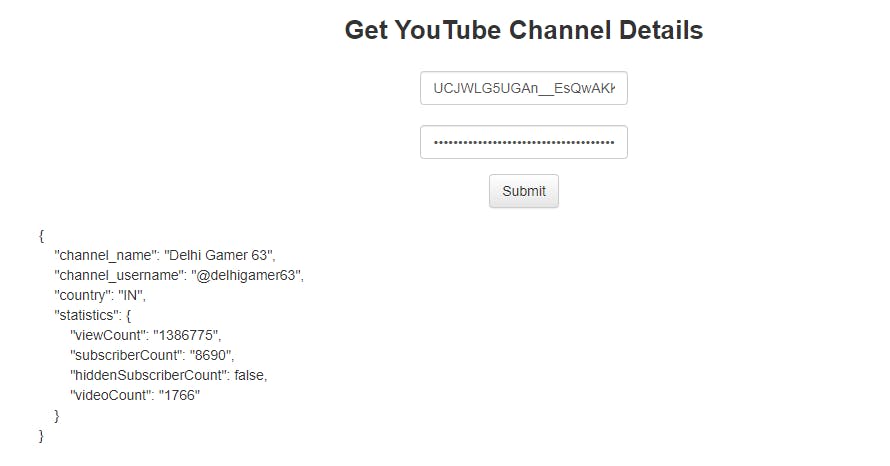
We have got the output in JSON format which can be produced in other formats as well. So, I hope now you can build your own apps using Anvil and get better at it. Feel free to connect with me if you have any questions. You can even check the Anvil Community Forum for more help.